Disassembling or removing high-pressure fittings from a piping system requires careful planning and execution to ensure safety and prevent damage to the system components.
Here’s a general procedure for disassembling high-pressure fittings:
- Shut down the system: Before beginning any disassembly work, shut down the system and depressurize the piping to ensure safety. Follow proper lockout/tagout procedures to isolate the system and prevent accidental startup or release of pressure.
- Relieve pressure: Use appropriate methods to relieve any residual pressure remaining in the piping system. This may involve opening valves, draining fluid, or venting pressure using relief valves or bleed valves.
- Inspect the fittings: Before disassembly, inspect the high-pressure fittings for any signs of damage, wear, or corrosion. Note the condition of the threads, seals, and other components to assess the need for replacement or repair.
- Prepare tools and equipment: Gather the necessary tools and equipment for disassembly, including wrenches, socket sets, pipe wrenches, and any specialized tools required for the specific type of fitting.
- Loosen connections: Use appropriate tools to loosen the connections of the high-pressure fittings. Depending on the type of fitting and its connection method, this may involve unscrewing threaded connections, loosening bolts or nuts, or releasing clamps or couplings.
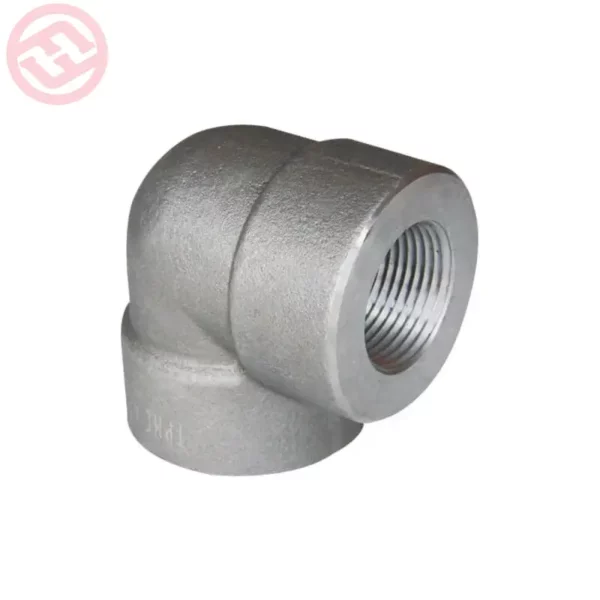
- Follow proper sequence: Disassemble the fittings in the correct sequence, high pressure fittings following any manufacturer guidelines or recommended procedures. Start with the outermost connections and work inward toward the main piping system.
- Support heavy components: If the fittings are large or heavy, use appropriate lifting equipment or support structures to prevent injury or damage during disassembly. Securely brace or stabilize components to prevent them from shifting or falling.
- Inspect components: As you disassemble the fittings, inspect each component for signs of damage, wear, or contamination. Check for corrosion, erosion, cracks, or other defects that may indicate the need for replacement or repair.
- Clean and lubricate: Clean and lubricate the components as necessary during disassembly to facilitate smooth operation and prevent damage to threads or seals. Use appropriate cleaning agents and lubricants compatible with the materials and fluids used in the system.
- Dispose of components: Properly dispose of any damaged or worn components removed during disassembly. Follow local regulations and guidelines for the disposal of hazardous materials or components containing contaminants.
- Document procedures: Keep detailed records of the disassembly process, including any observations, findings, and actions taken. This documentation can help track maintenance activities, identify recurring issues, and ensure compliance with regulatory requirements.
- Reassemble or replace: After completing the disassembly, either reassemble the system using new or repaired components or replace the fittings with new ones as needed. Follow proper installation procedures and torque specifications to ensure a secure and leak-free connection.
By following these steps and exercising caution throughout the disassembly process, you can safely remove high-pressure fittings from a piping system and perform necessary maintenance or repairs as required.